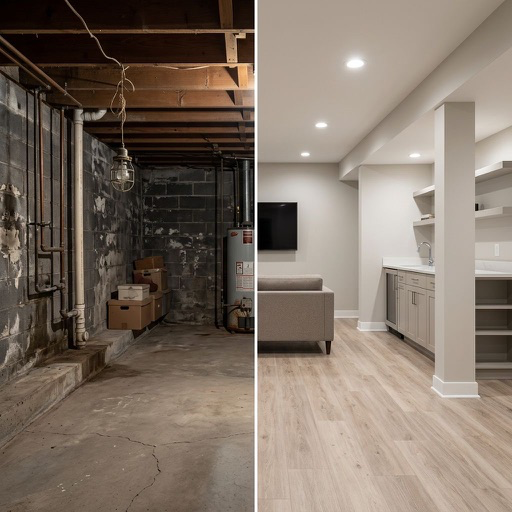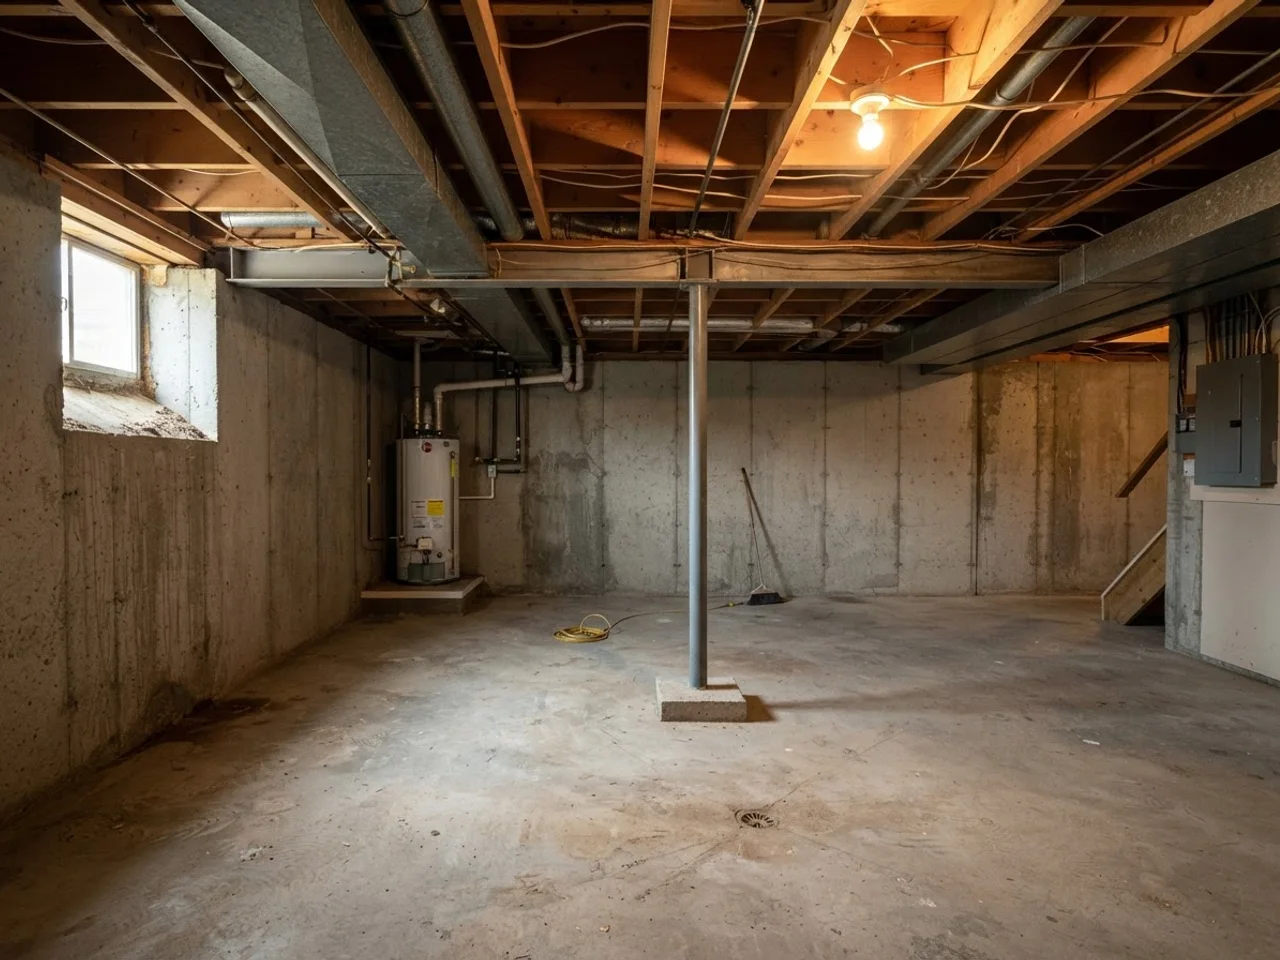
What can you do free online for your basement today?
More than you might expect, and none of it needs a login. The point of the free layer is to get you to a decision (what the room will be, roughly what it costs) before you spend on software, a designer or a render.
- Read the guide for the room you are leaning toward. Each one has the dimensions and the budget range, which is usually enough to rule one or two options out.
- Run the cost numbers. A standard finish runs $30 to $50 per square foot in 2026; a suite with a bathroom and egress runs $75 and up. Knowing the bracket changes which room makes sense.
- Use the planning tools for the fit questions: will a 7 ft pool table clear the wall, how far should the seats be from a 120 in screen, what does 800 sq ft cost at your finish level.
- Download the app and photograph the basement. Exploring the room types, the styles and the Dream Basement mode is free. Generating renders of your photo is the paid part, and it is priced well under one hour of a designer.
| Free resource | What you get | Where |
|---|---|---|
| Room guides | Layouts, must-haves and realistic budgets for a home theater, home bar, game room, guest suite, home office and more | The basement ideas hub |
| Finishing cost guide | 2026 cost per square foot by finish level, line items from framing to egress, and a budget per room type | The finishing cost page |
| Planning tools | Calculators for room dimensions, screen distance and budget that run in the browser | The tools page |
| Style reference | Twelve styles the app renders, from Modern to Rustic to Luxury, with what each does to a low room | The styles page |
| The Basement Design app | Free to download and explore. Rendering your photo into a finished basement needs a subscription (weekly or yearly plans) | App Store, iOS |
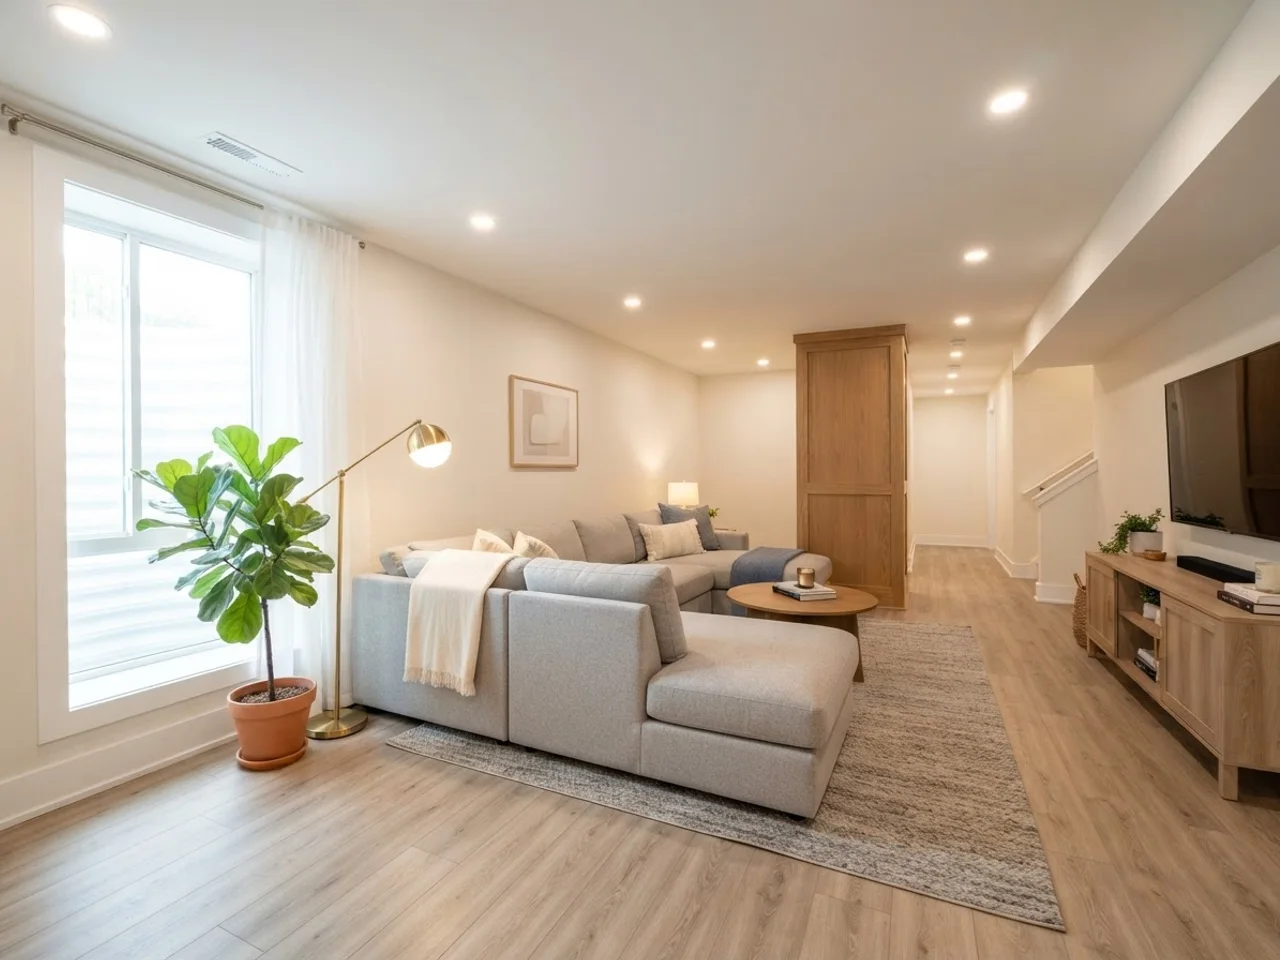
How does designing your basement from a photo work?
The photo route skips the part where you rebuild your basement from a blank grid. The app reads the room from the picture, keeps its real geometry (walls, columns, stairs, the window well) and renders it finished. Five steps, about two minutes for the first result.
- 1. Take the photo. Stand at the bottom of the stairs or in a doorway, phone at chest height, and capture the widest view. Include the ceiling and at least one wall corner so the AI has depth cues. Turn on every light you have; a dark photo gives a muddy render.
- 2. Pick the room type. Home theater, home bar, game room, guest suite, home office, gym and more. This is the biggest decision and the one worth rendering several times.
- 3. Pick a style. Twelve options. Modern, Rustic and Luxury read very differently in a low room, and the render shows the difference on your ceiling, not a stock one.
- 4. Generate and compare. The result is a photorealistic version of the same room, same perspective, finished. Save it, render another room type from the same photo, put the two side by side.
- 5. Share it. Send the render to the household and to the contractor. Arguments about a picture of your actual basement go faster than arguments about a floor plan.
- No photo yet, or the basement is too full of boxes to shoot? Dream Basement mode builds a basement from scratch from the room type, style and features you pick. It is a mood board, not your room, but it settles the style question.
What do free online basement planners actually give you?
Search for a free basement design tool and you will find two products that are not the same thing: drag-and-drop floor planners and photo-to-render visualizers. Both are useful. They answer different questions, and using the wrong one first is how people lose a weekend.
- The order matters. Render first to pick the room, then draw the plan for that room. Drawing plans for a room type you end up rejecting is the most common waste in basement planning.
- Neither replaces a permit set. Any bedroom needs egress, ceilings need 7 ft in habitable rooms under the IRC, and a wet bar needs a drain. Free online tools do not check any of that. Your contractor or your building department will.
| Drag-and-drop floor planner | Photo-to-render visualizer | |
|---|---|---|
| Input | A blank grid. You draw the walls from your measurements. | One photo of the basement as it is today. |
| Output | A dimensioned 2D plan, often a stylized 3D view. | A photorealistic finished version of your actual room. |
| Time to first result | One to three hours for a basement with columns and a mechanical room. | Under a minute. |
| Best question answered | Does the furniture fit, and where do the walls go. | What should this room become, and in which style. |
| Weak spot | It looks nothing like your basement. Ceilings, columns and light are guesses. | No dimensions, no plans, no code check. |
| Free tier | Usually free for one project; exports and HD views are paid. | Free download and exploration; renders on a subscription. |
| Use it when | You have decided the room and need a plan for quotes. | You have not decided, or you want to see a style on your walls. |
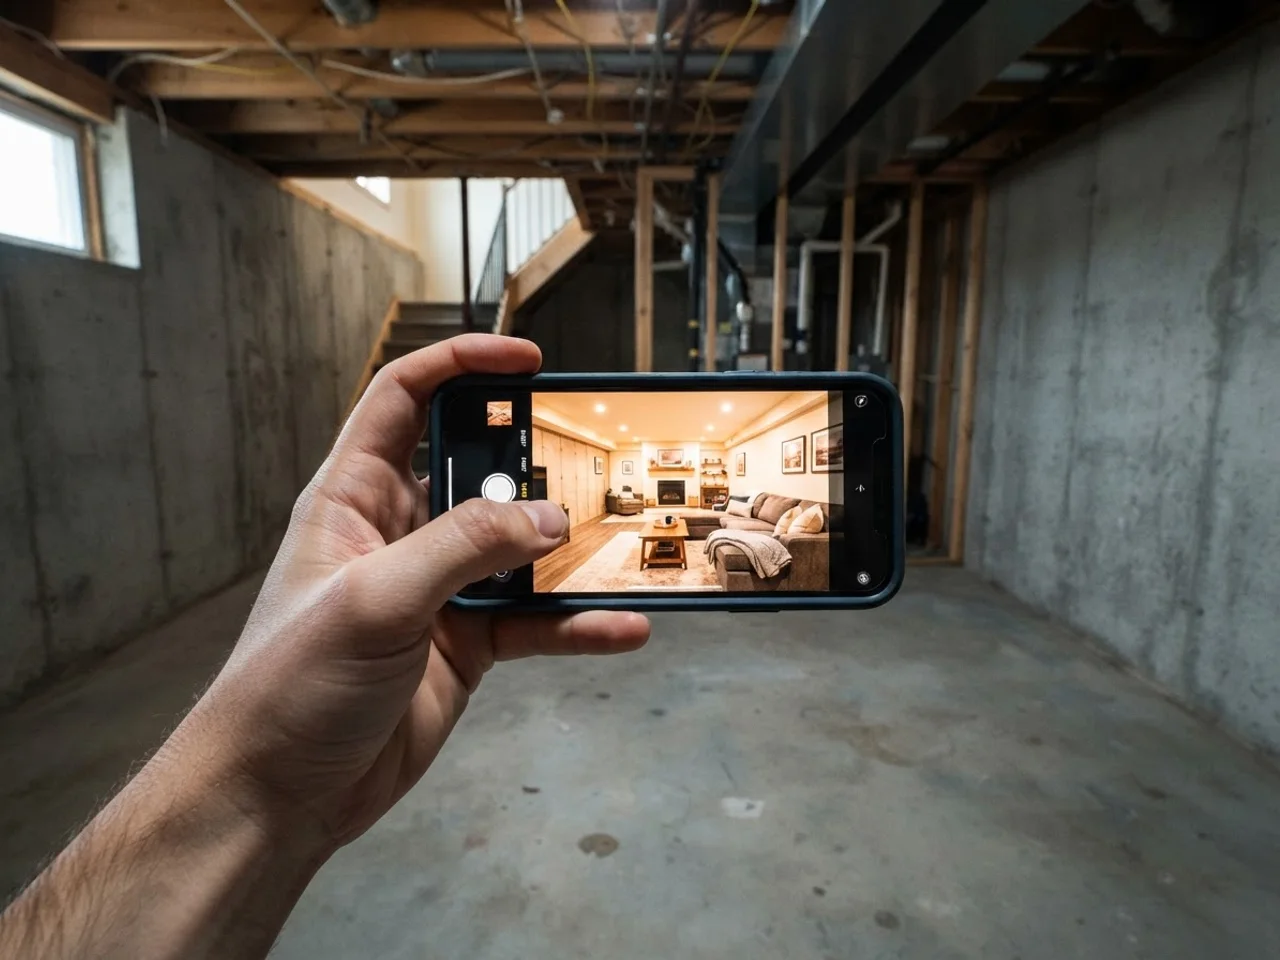
What should you prepare before designing your basement online?
Fifteen minutes with a tape measure and a phone makes every tool, free or paid, produce better output. This is the checklist. Do it once and keep the notes.
- Measure the footprint. Overall length and width, then the position of every column, the stair opening and the mechanical equipment. Sketch it on paper with the numbers; you will type them into any floor planner later.
- Measure the ceiling height in three places: the clear height, the height under the lowest beam, and the height under the lowest duct. Habitable rooms need 7 ft, with beams and ducts allowed to 6 ft 4 in under the IRC. If you are under that, the design changes (drywall ceiling, no drop ceiling, no tall equipment).
- Photograph everything. A wide shot from the stairs for the render, then detail shots of the panel, the sump, the water heater, the window wells and any water staining. Bright light, phone level.
- Note the egress. Count windows and measure each opening. A bedroom or guest suite needs an egress window (5.7 sq ft clear opening, sill under 44 in) or an exterior door. If none exists, add $3,000 to $8,000 to any bedroom plan.
- Check for moisture. Tape a square of plastic to the floor for 24 hours. Condensation under it means you need a vapor barrier and LVP, not carpet and hardwood, and any tool you use should be told to render hard flooring.
- Set the budget bracket before the style. $15 to $30 per square foot keeps the layout open and paints the joists. $30 to $50 frames and drywalls. $75 and up adds a bath or a suite. A render in Luxury style on a $20 per square foot budget is a nice picture and nothing else.
- Decide who votes. Renders are cheap; opinions are not. Agree on who gets to pick the room type before you generate six of them.
What mistakes do people make designing a basement online?
The same errors show up in almost every first attempt, and most come from treating the basement like a normal room in a tool built for normal rooms.
- Leaving the default ceiling. Planners open at 8 or 9 ft. Basements are 7 ft on a good day. The 3D view lies to you until you change it.
- Ignoring the columns. A pool table that fits in the plan does not fit when a steel column lands 3 ft from the rail. Place columns first, furniture second.
- Putting the bedroom where the egress is not. Rendering a guest suite in the corner with no window is a nice picture of a room you cannot legally rent or list.
- Designing the mechanical room away. Furnace, water heater and panel stay where they are unless you are paying to move them. Wall them off, give them a door, and design around the box.
- Rendering ten styles before picking a room. The style decision is smaller than the room decision. Settle theater versus bar versus suite, then compare Modern versus Rustic.
- Choosing the plan by the picture. A photorealistic render is for deciding what to build. A dimensioned plan is for building it. Take both to the contractor and stop when they match.
- Skipping the cost check. A render costs nothing to fall in love with. Run the square footage through the cost guide before you send the picture to anyone.
- Photographing in the dark. One lamp in a 600 sq ft basement gives the AI nothing to work with. Bring a work light or shoot at noon with the bulkhead open.